Why you would make a DIY tripod? A DIY project is a way to improve your productivity by improvising something you can manufacture yourself. DIY isn’t usually synonymous with inventing. For undertakings like music, art, photography, crafts, and so on, you can change, repair, or reproduce something by using existing resources.
You must use a tripod at some point no matter what type of project you are working on, whether it be photography, motion graphics, or any other camera-related activity. Don’t have time to shop? Then, at home, create a DIY phone tripod.
People nowadays prefer to use their phones, and their hands are unable to offer adequate balance when using a camera. It is a significant problem. Using a tripod will ensure that your shots are faultless, with no glitches or blurry photographs.
If you don’t want to spend money, you may create a simple DIY phone tripod at home.
Quick Tripod ideas
Making something always sounds a hasty task, isn’t it? We’ve brought to you some quick DIY phone tripod ideas. These are fun ideas that might work for you for real as well. The tripod ideas we’ve shared here are called:
- Card Tripod
- Coffee cup tripod
- Reverse Coffee Cup Tripod
- Selfie Stick Tripod
So, let’s get jump back to work.
Card Tripod
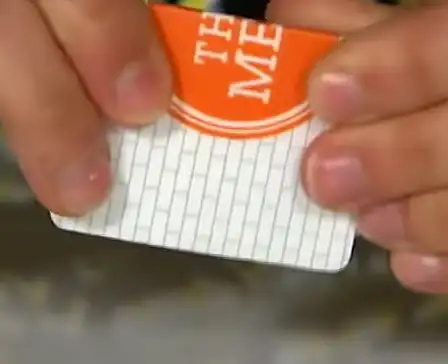
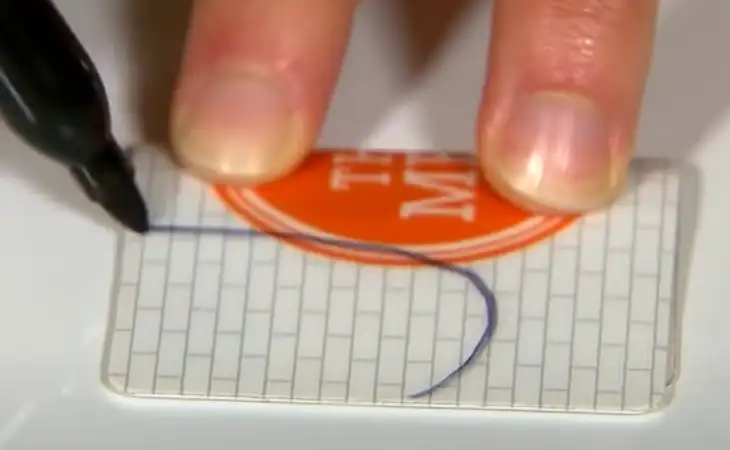
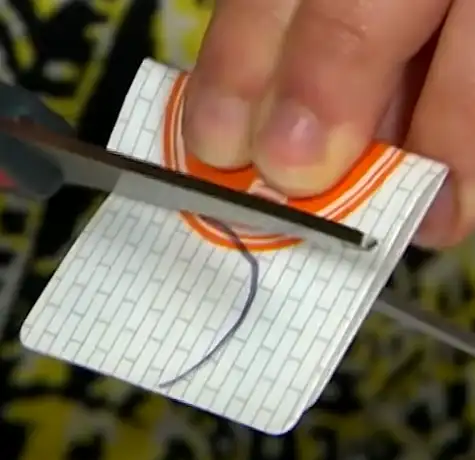
It could be any kind of stable card. Fold it in half. Draw a mark like shown in the image. Cut through the mark.
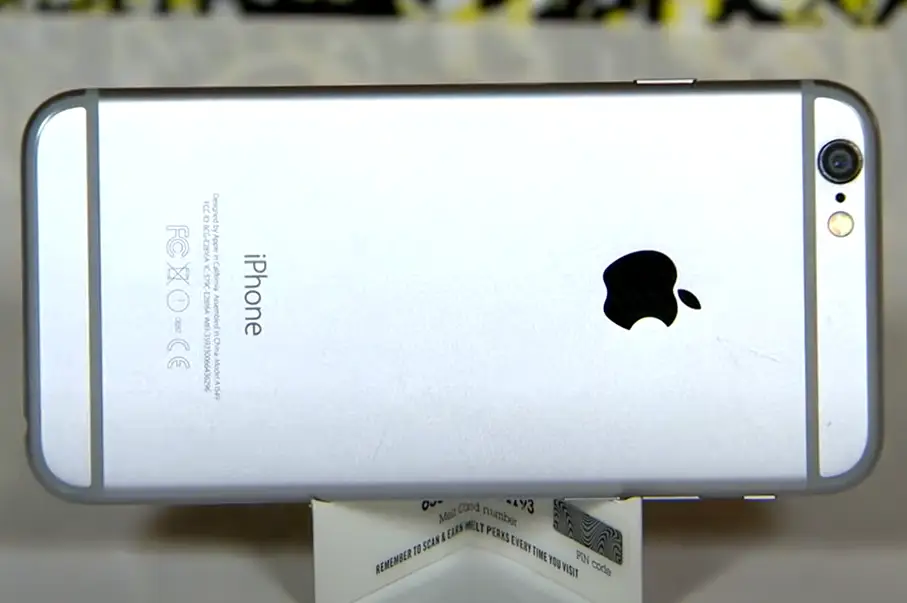
If you open your card you’ll have your DIY phone tripod ready. Now place your phone on it and enjoy!
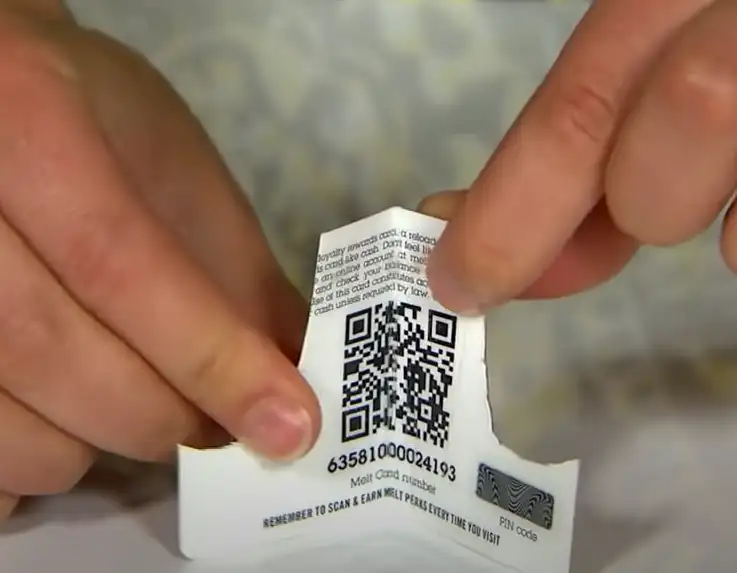
Coffee Cup Tripod
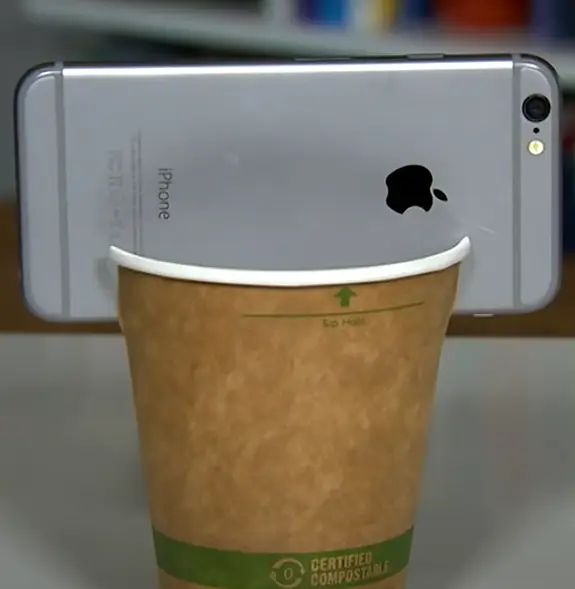
This cups are also known as paper cup. They’re easily available at any coffee shop. Take one and cut a curve shown in the image. On both sides. That’s it.
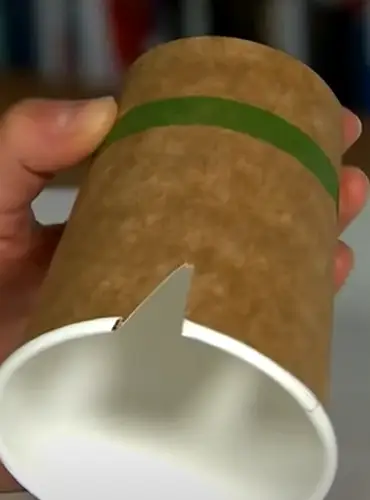
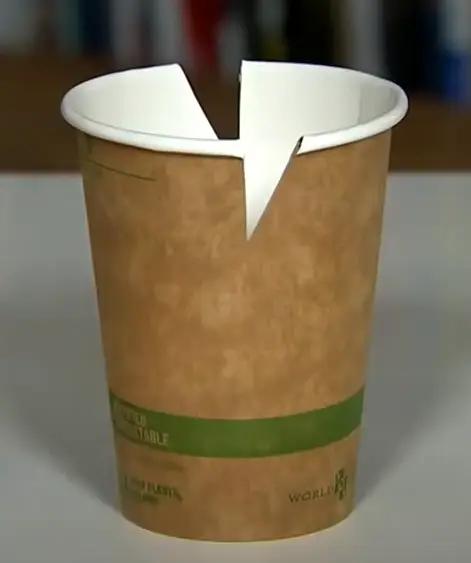
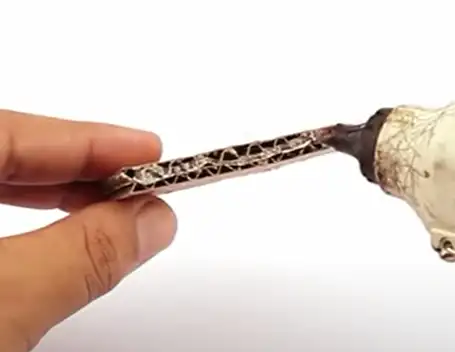
Reverse Cup Tripod

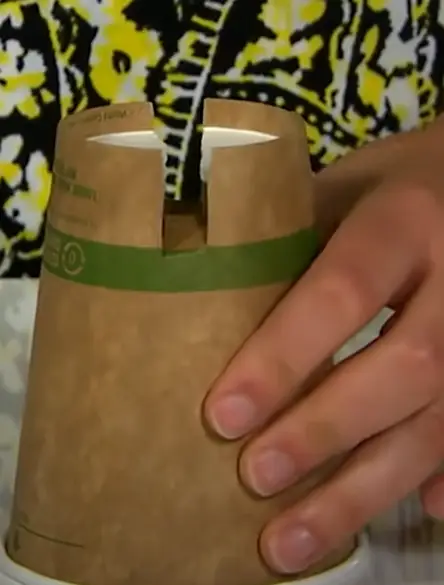

Just turn your cup upside down. And cut through the spine as shown in the image above. Done!
Selfie Strick Tripod
Another simplest way to make is, take your selfie stick, and stick scotch tape around the bottom. See the image.
If you think this quick solution is not enough.
And you need a balanced tripod, then follow the next sections.
Stable DIY Phone Tripod
You’ll need a phone tripod for a variety of tasks at work. For example, your teacher may have requested you to create a social life film or a photograph of local wildlife for the following session. For a forthcoming internet event, you might wish to film a bicycle stunt video.
You don’t have the time or the funds to purchase a dependable tripod. Your tripod must be solid enough to capture the subject clearly on camera when doing photoshoots, videography, filming, or any other experimental endeavors.
Let’s get back to work after adding 4-5 minutes to your day. The entire process of creating a phone tripod would cost you nothing, albeit it would depend on the resources available around you. Before you begin the DIY phone tripod, I recommend gathering the necessary components. To save time in the future.
Equipments
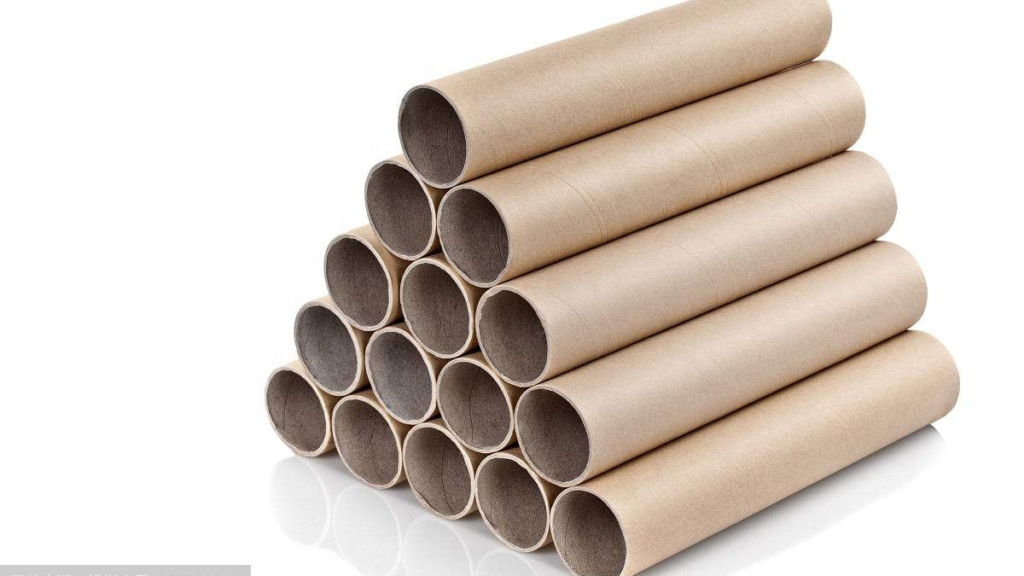
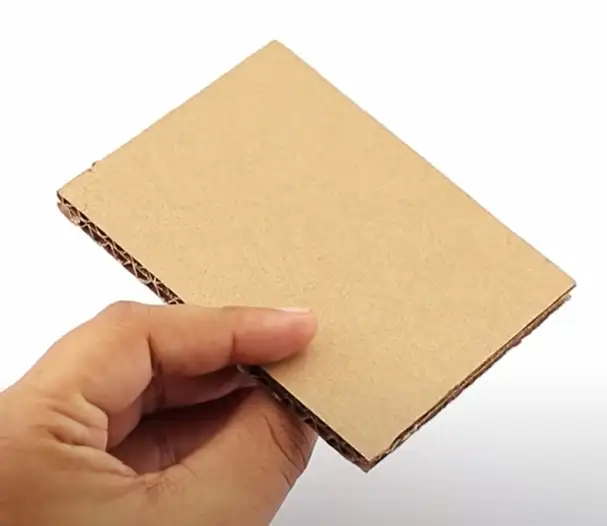
- A solid piece of long cardboard roll (paper towel or tissue)
- Pencil,
- Scissors
That’s all you need. Once you have them, sit back, and follow the next section.
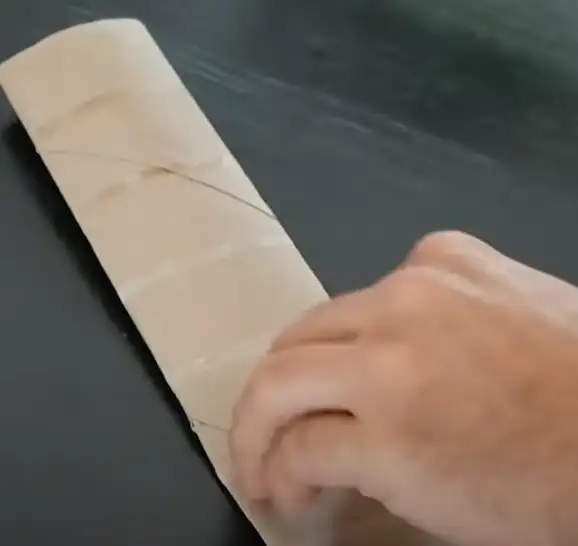
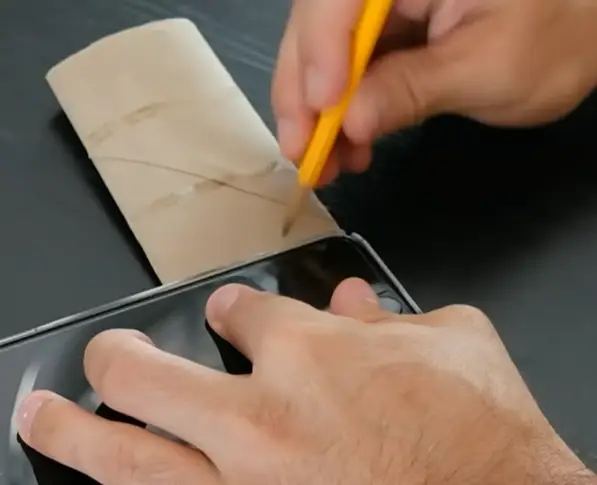
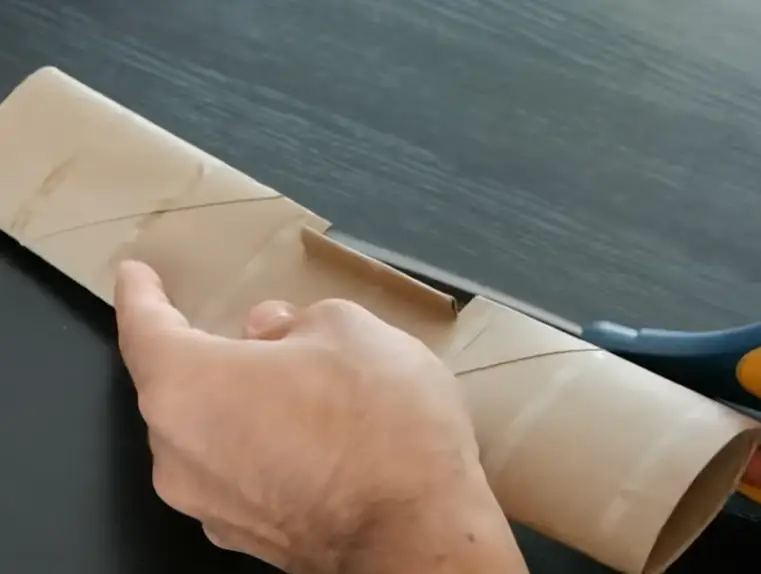
Flatten the cardboard roll. Now put your phone upon the flat surface and mark it as shown in the image. And cut small curves.
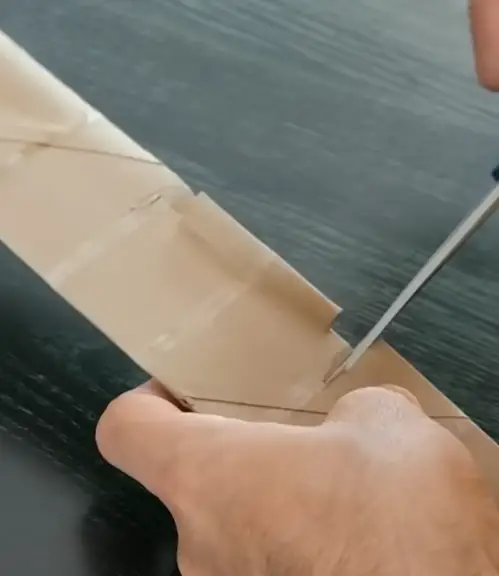
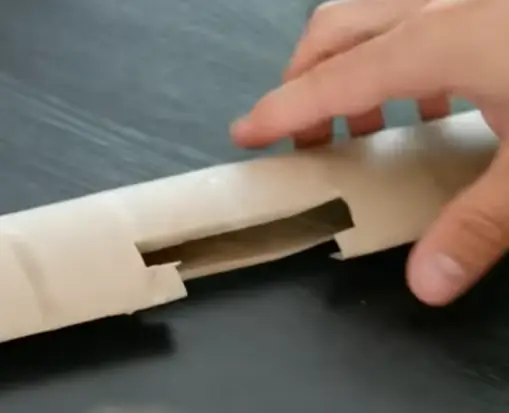
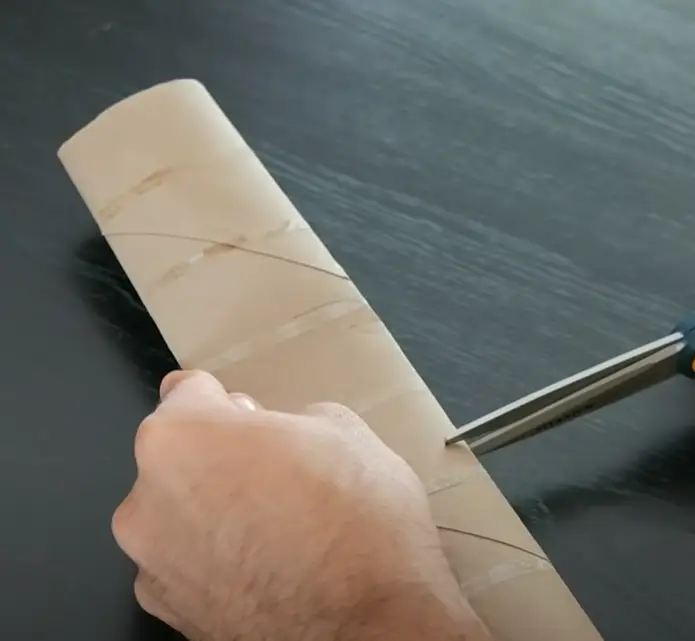
Now fold it upward, and cut through another curve. If you’ve followed the steps properly, you’ll have the tripod ready as shown in the step 6.
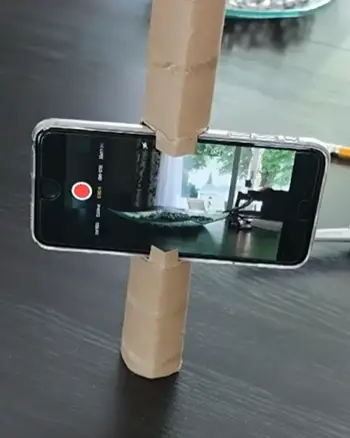
Now, take glitch free, videos, and photos with your DIY tripod.
If the above mentioned idea doesn’t suit you, it’s okay.
Let’s check out few more creative ideas for DIY phone tripod.
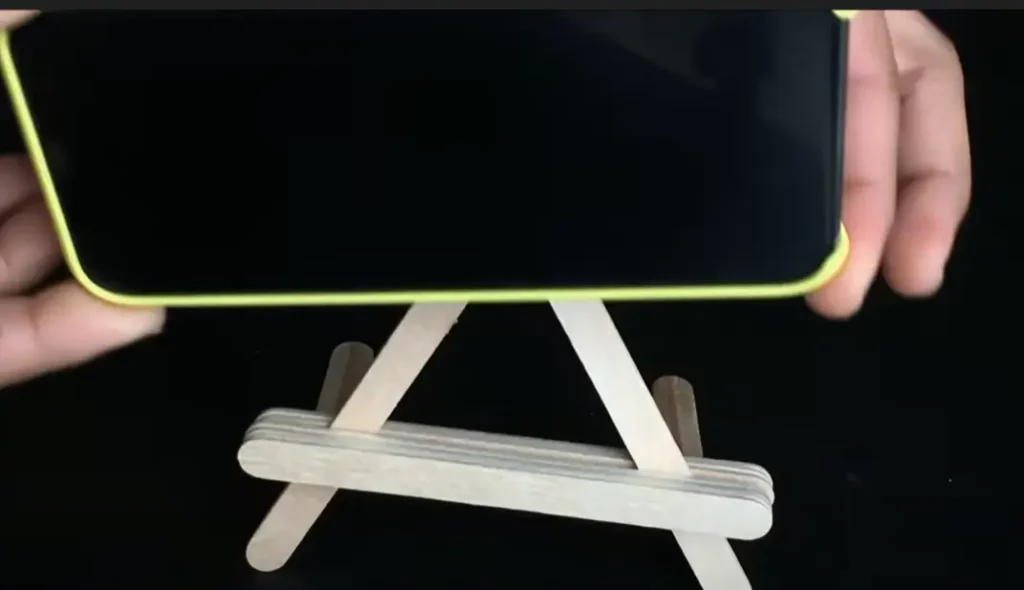
Stick Tripod
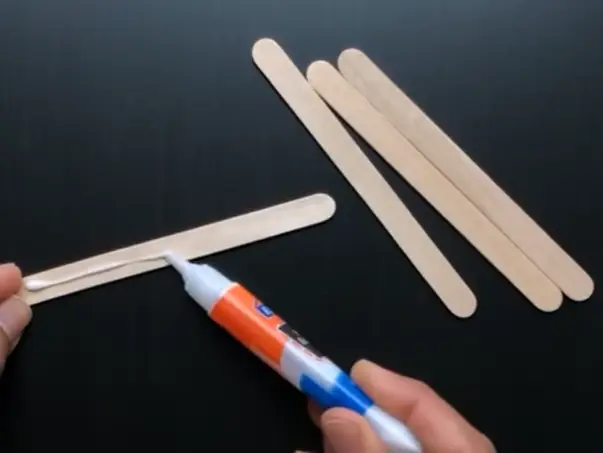
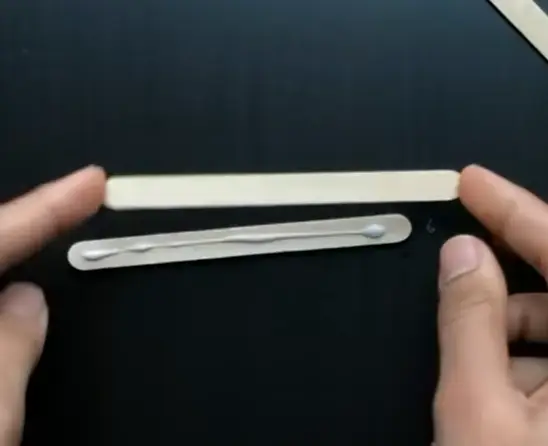
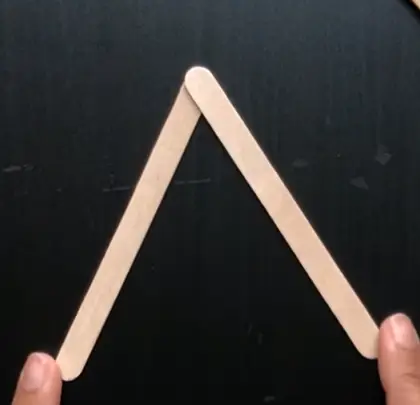
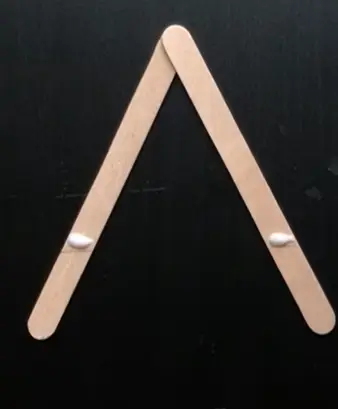
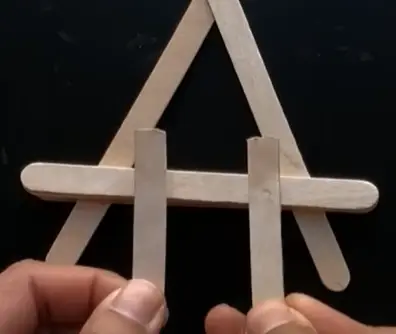
If you love ice-cream, and eat often, you might be having these kinds of sticks at your house. Check in your room. Take eight sticks, divide in equal numbers (4 each) and put glue on them, and stick them one by one. After that, put glue on the heads and make A shape as shown in the step 3.

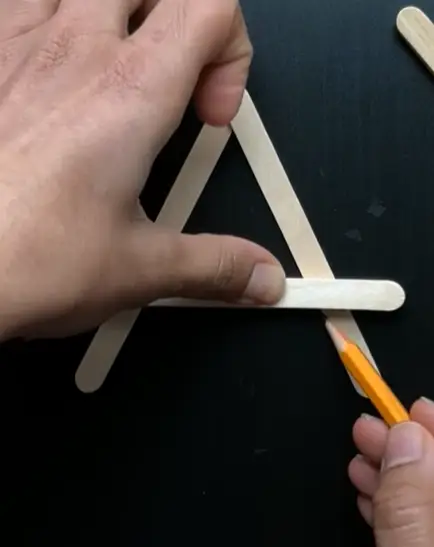
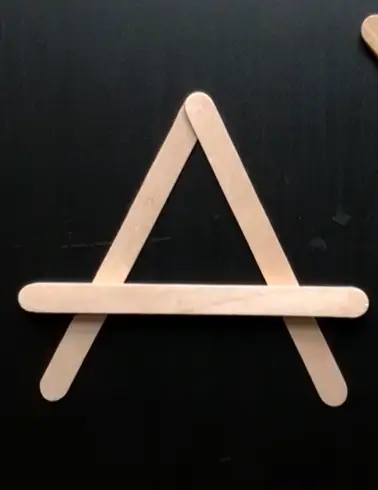
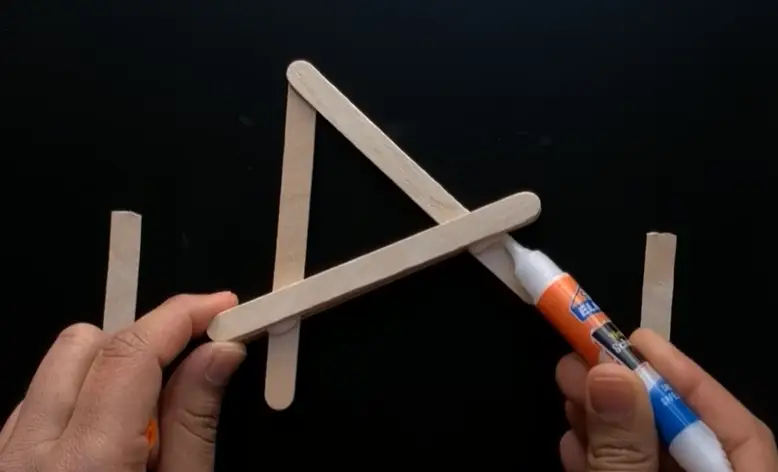
Now pick the four sticks you’ve glued. Place it on the A shape you’ve made. Mark it with your pencil as shown in the image. Take them away. Pour little glue on the marks.
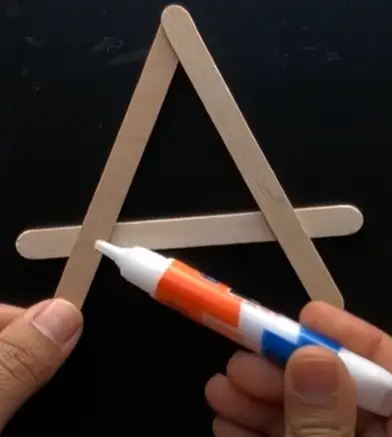
And now sit the four sticks you’ve glued. Turn it backward. Apply glue as you can see on step 8. Stick the another set of the four sticks on the glue mark.
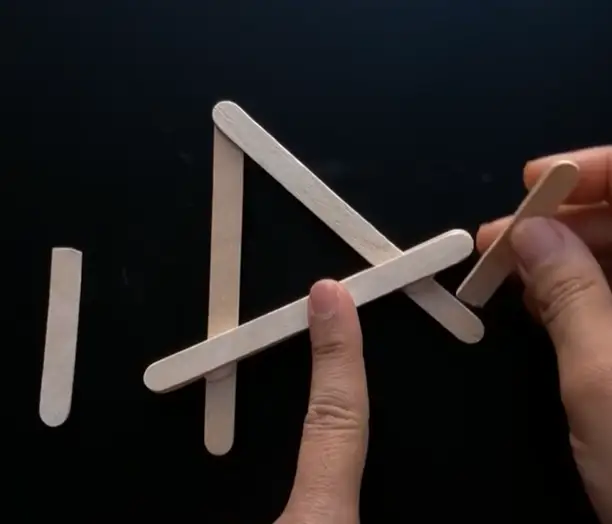
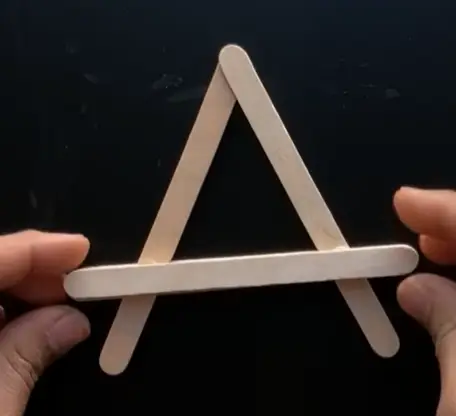
Break one stick in a half, and set them underneath the sticks. Put one drops on both sides, and stick the half ones.
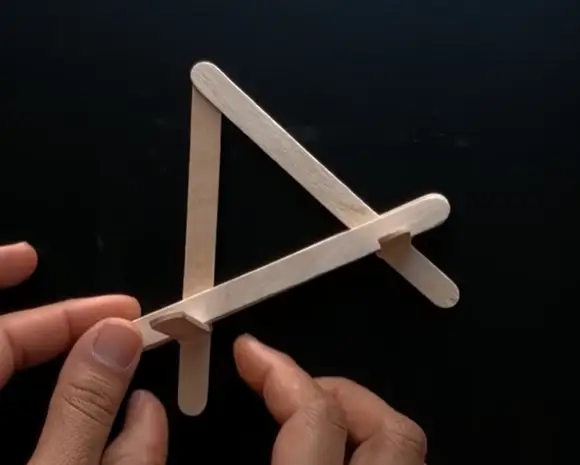
Make sure you’ve placed them well, and wait until it is dry. Your tripod is ready.
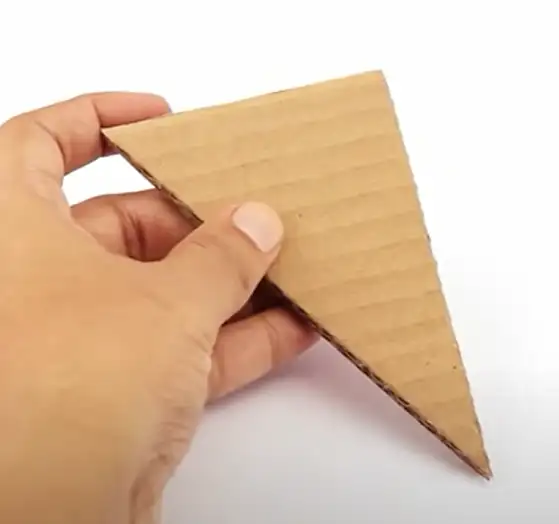
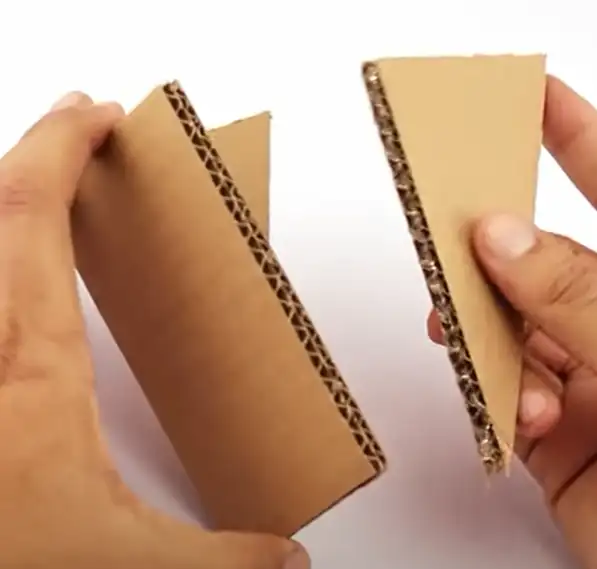
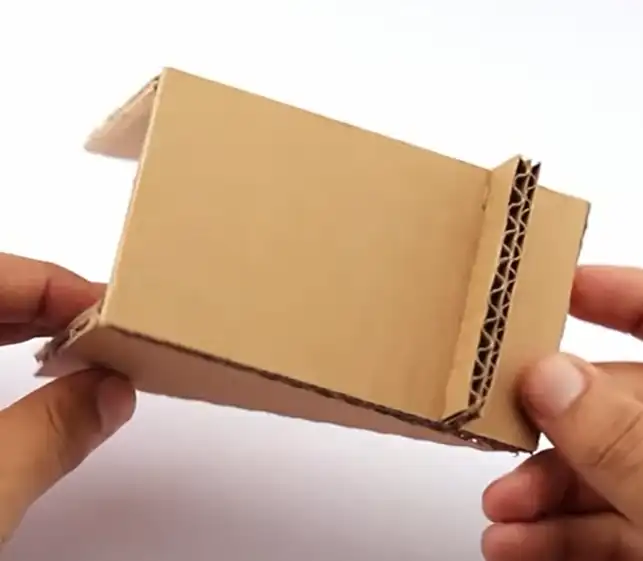
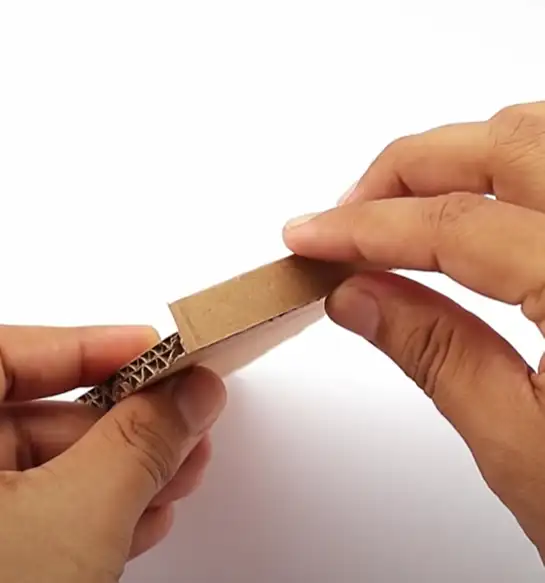
Cardboard Tripod
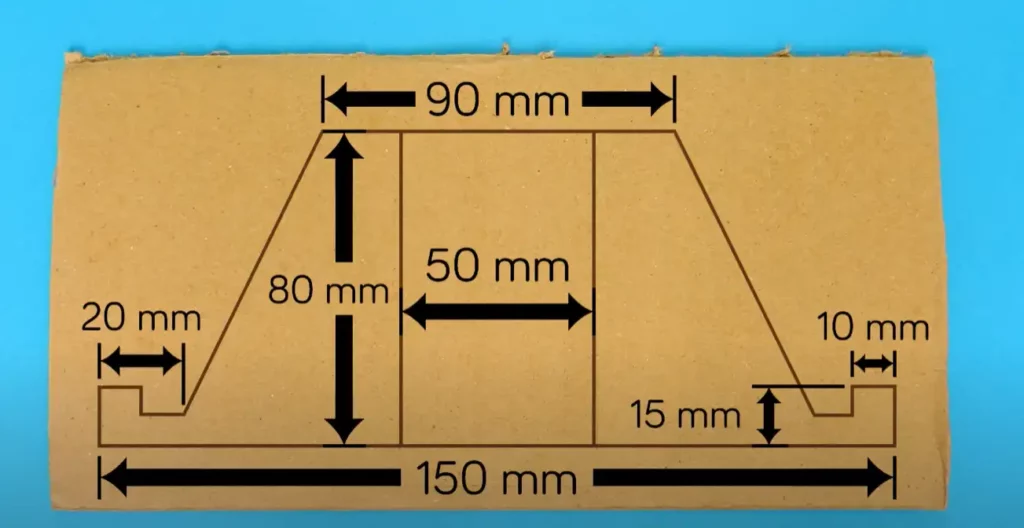
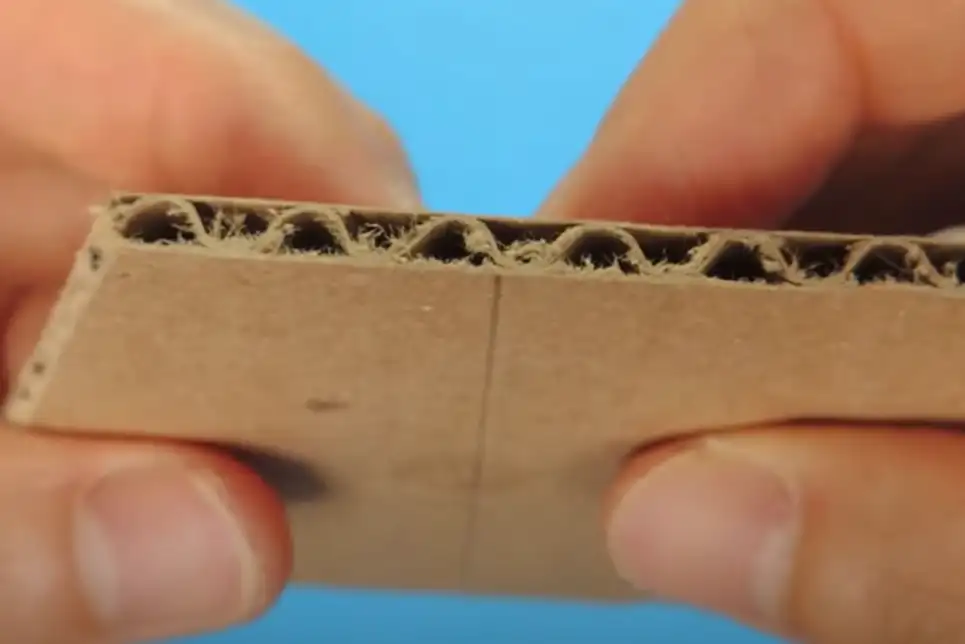
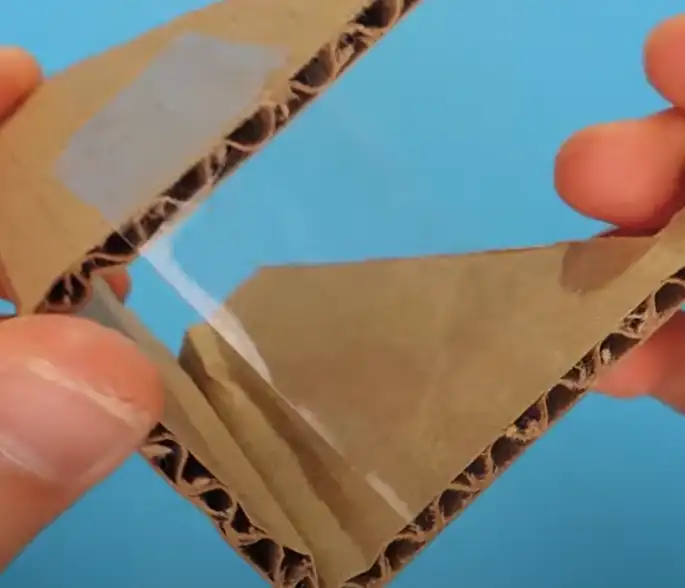
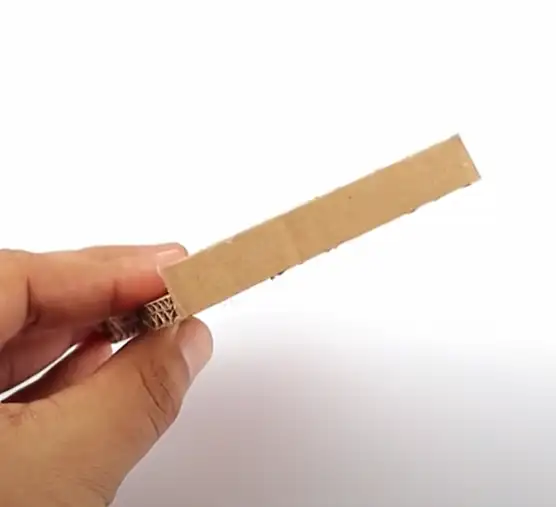
Check the first picture carefully and take the measurements as shown. Draw it with a pencil. Fold the cardboard on both sides. See the step 3.
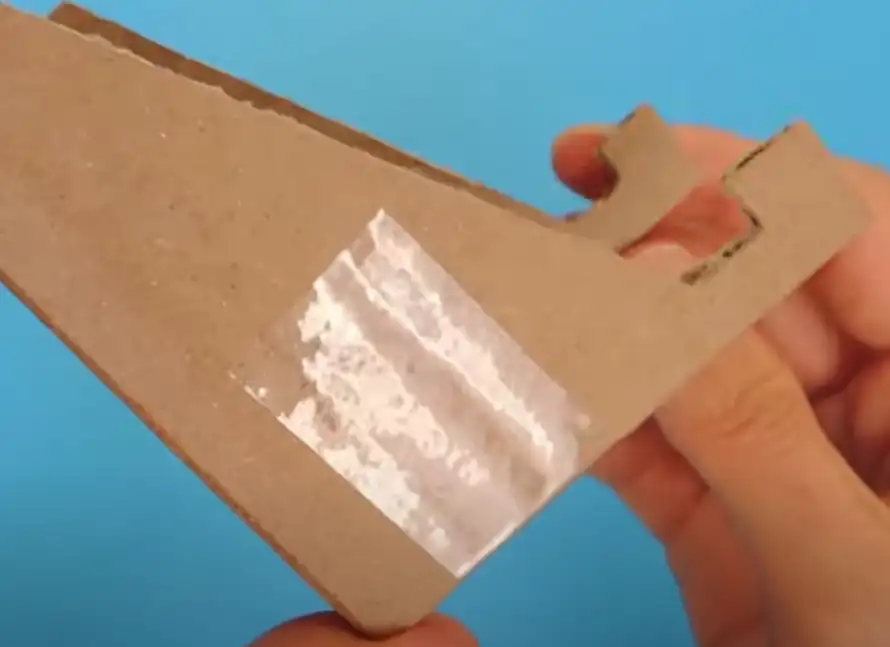
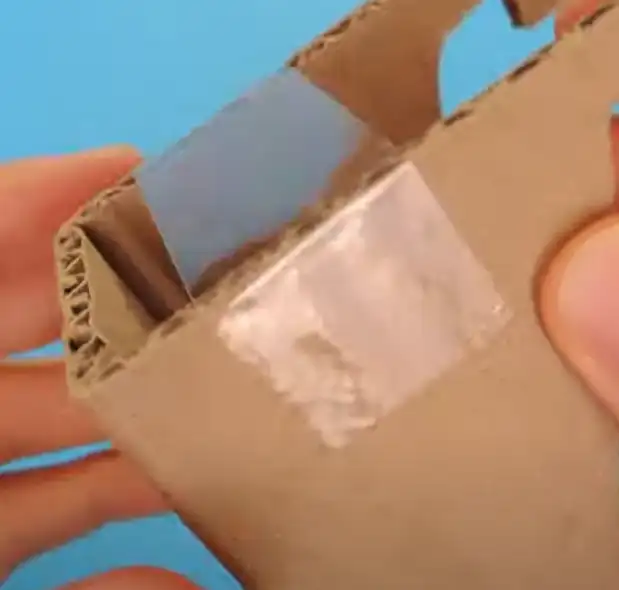
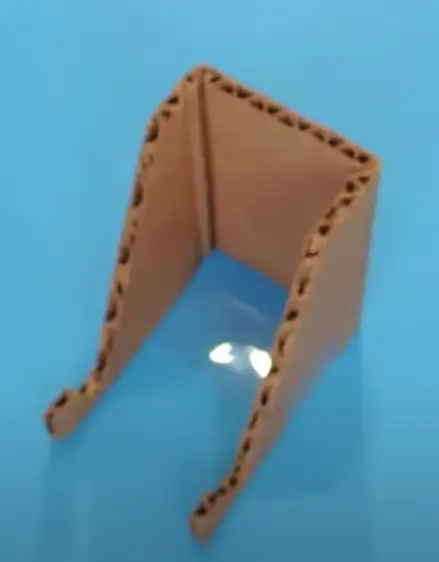
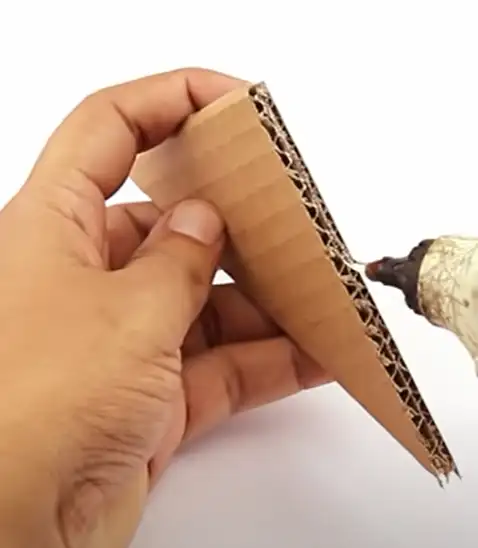
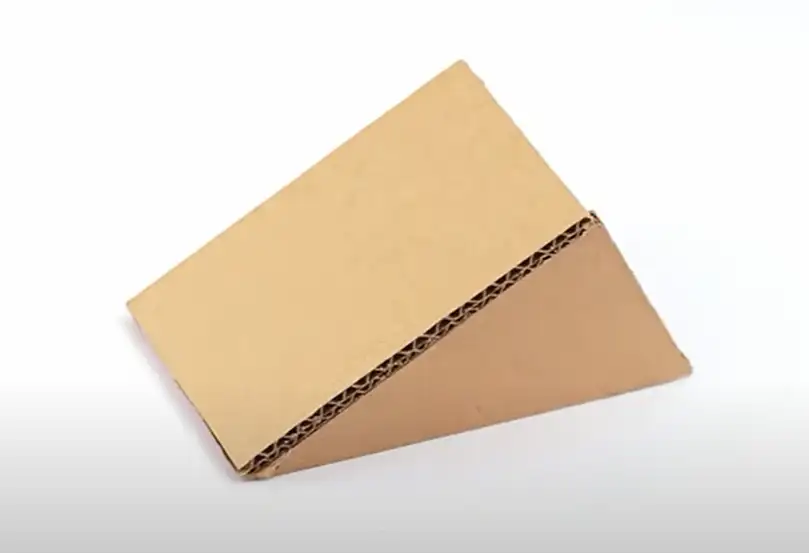
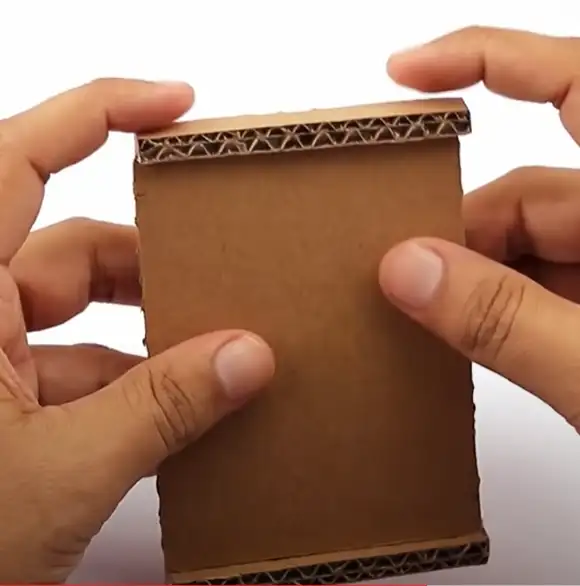
Stick both sides with scotch tape. Do it carefully.
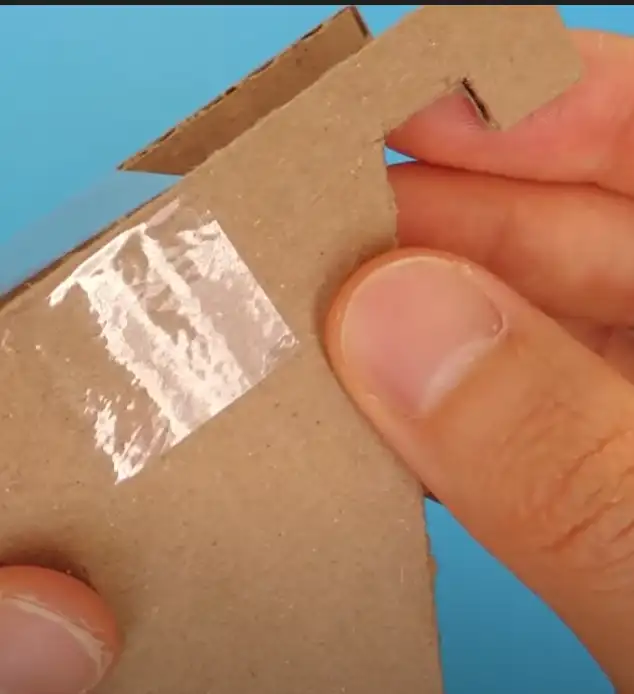
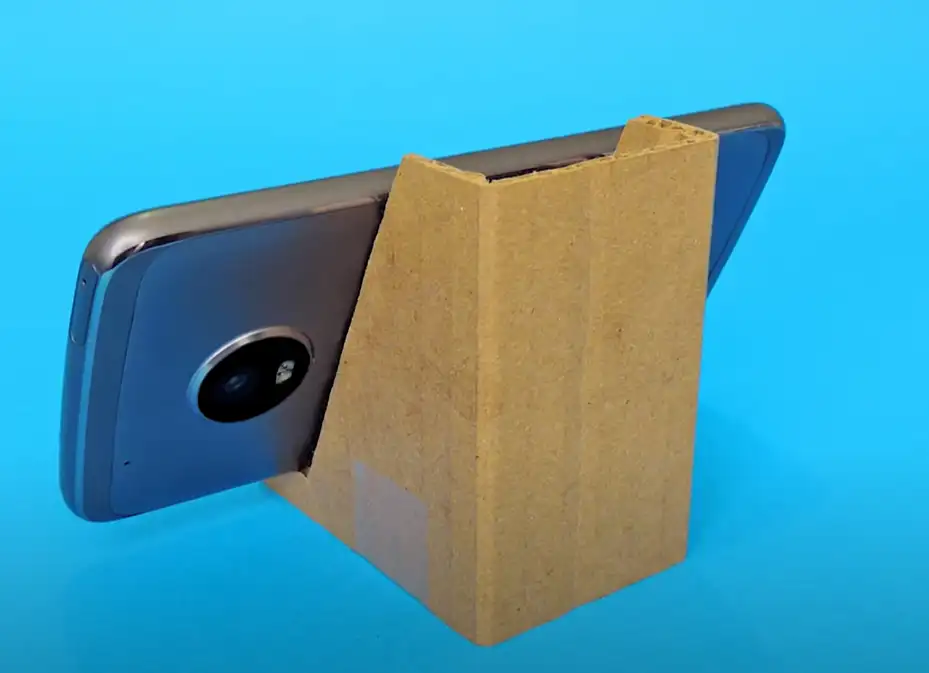
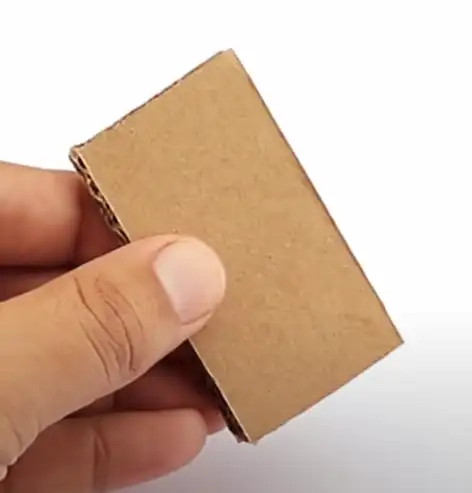
Make sure it is bound well. That’s all. Enjoy watching videos on your phone.
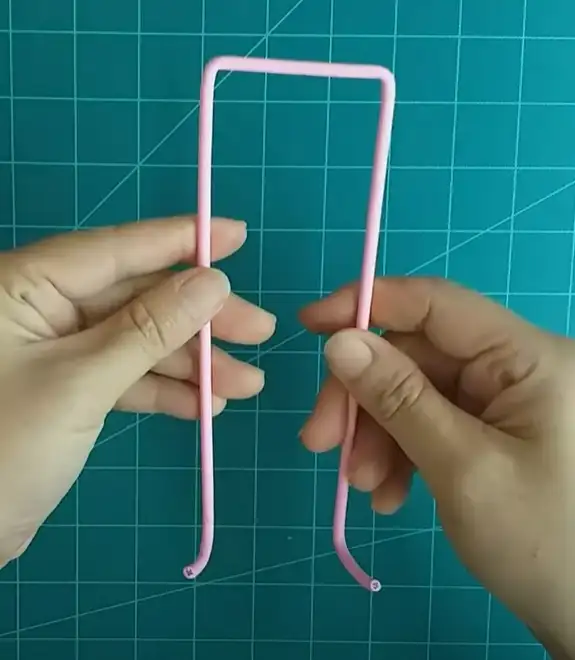
Cloth Hanger Tripod

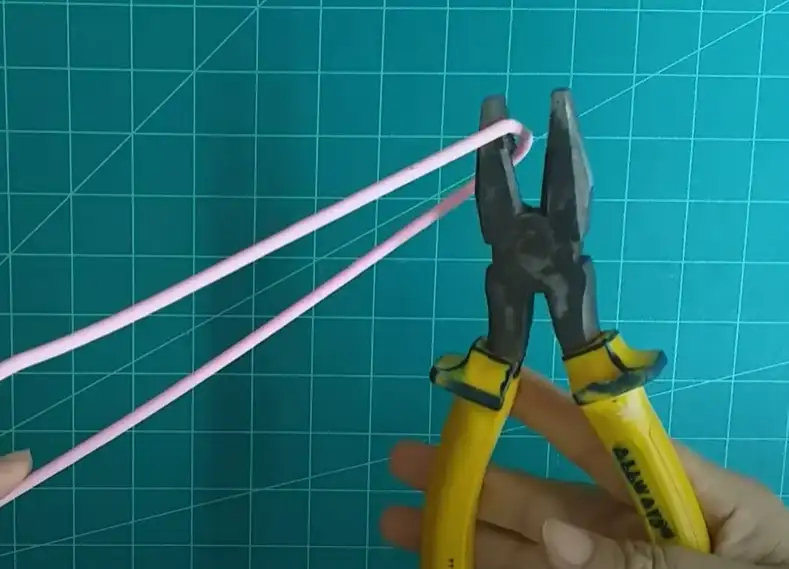
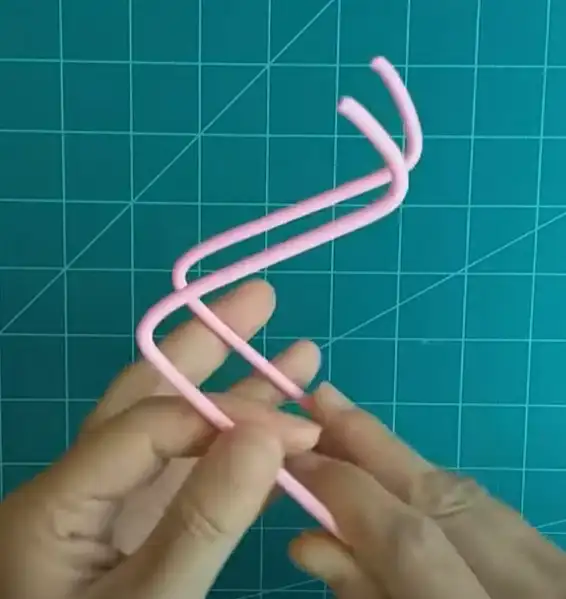
Just pick one hanger from your cupboard. Cut out the upper portion through pliers. Take the bottom part only.
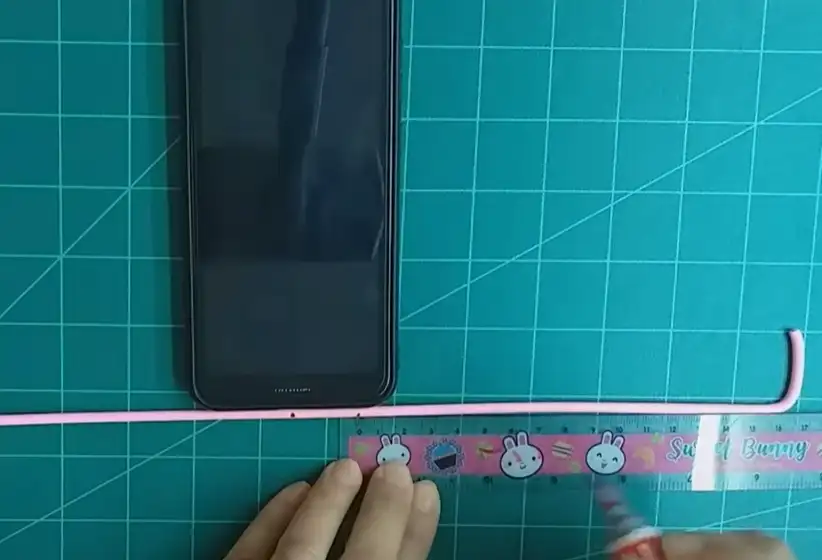
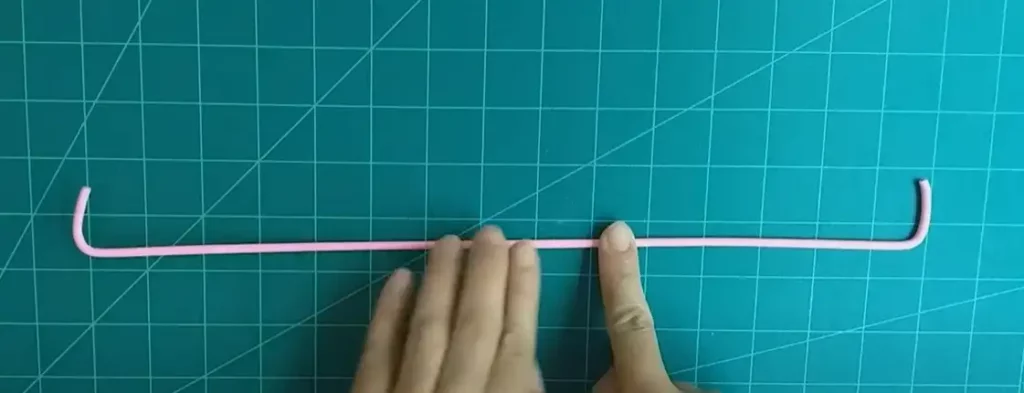
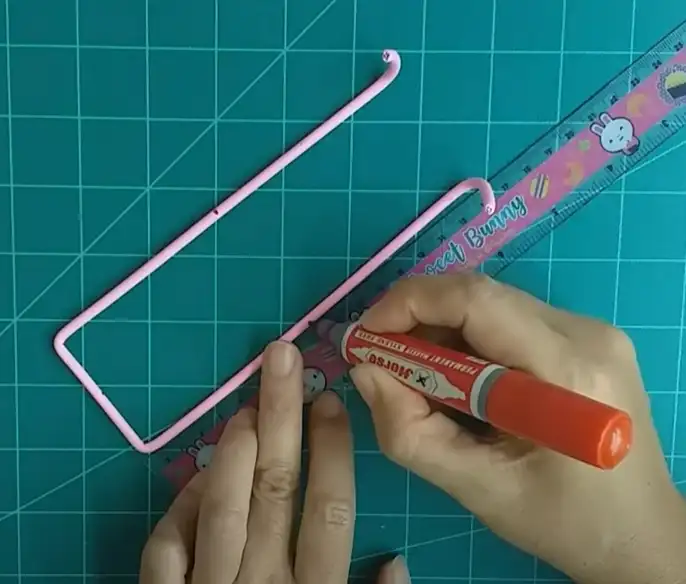
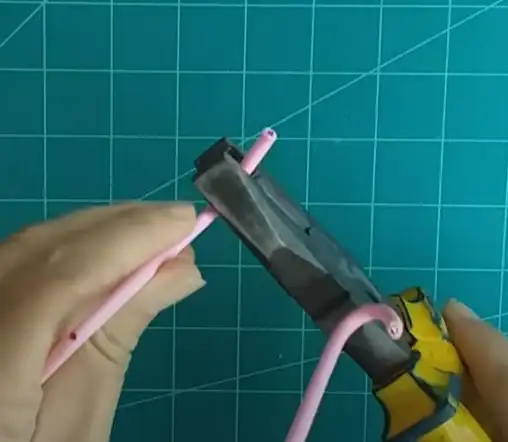
Pick your ruler and mark 18.5 cm, which supposed to be on the center. Measure side ends of your phone. And press the plier’s head.
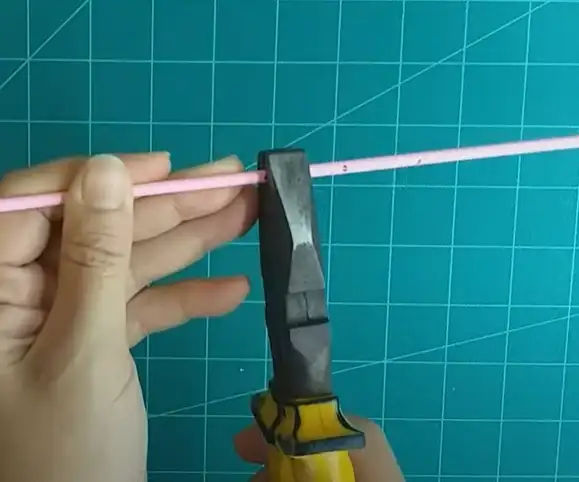
Bend both sides of the bottom part of the hanger.
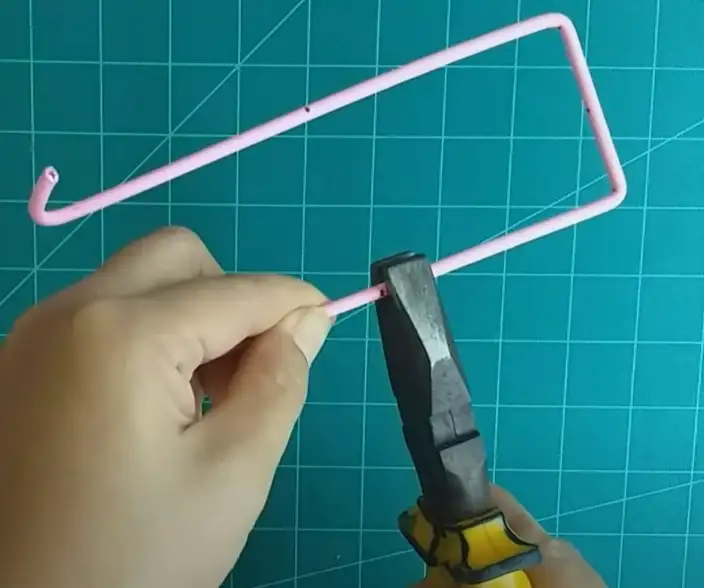
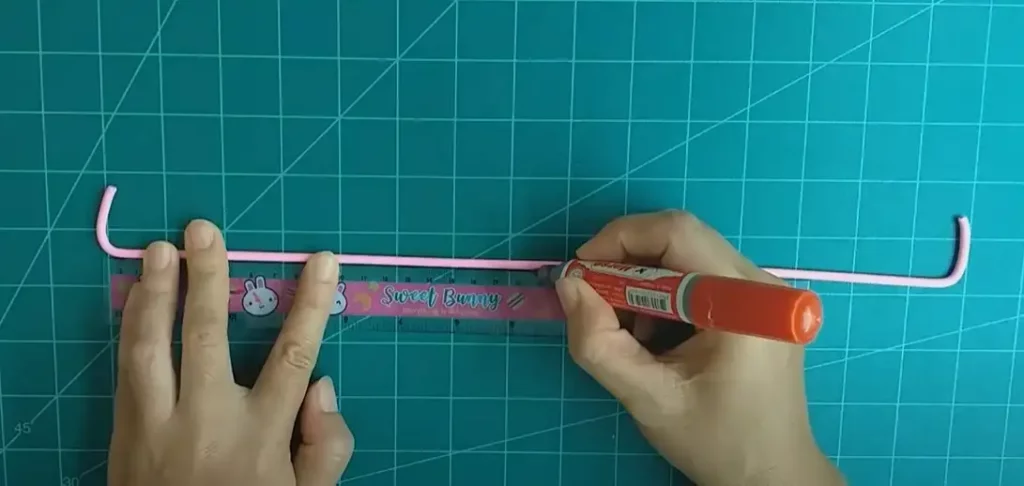
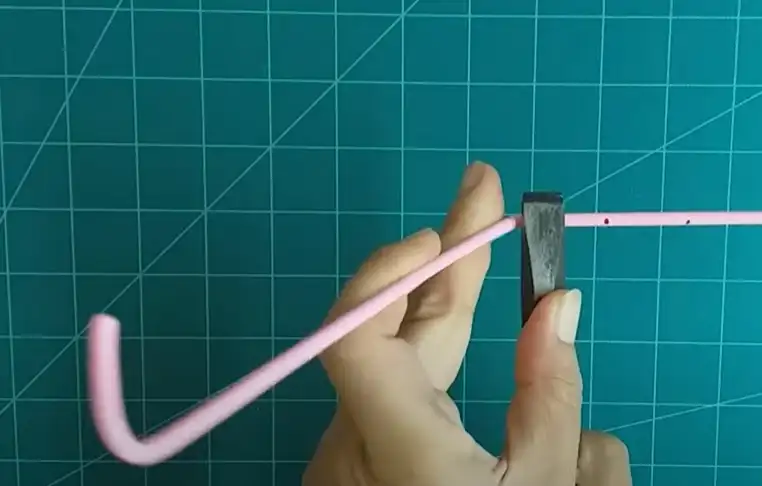
Now mark around 10 cm shown as the image above. Bend it upward again.
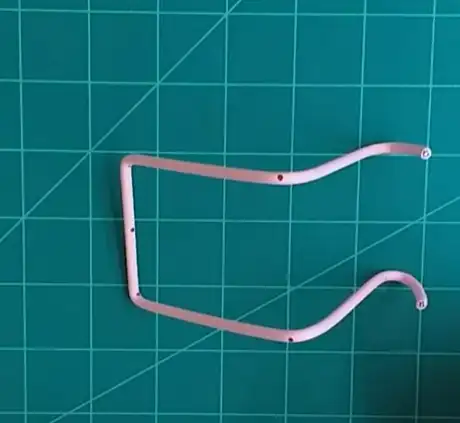
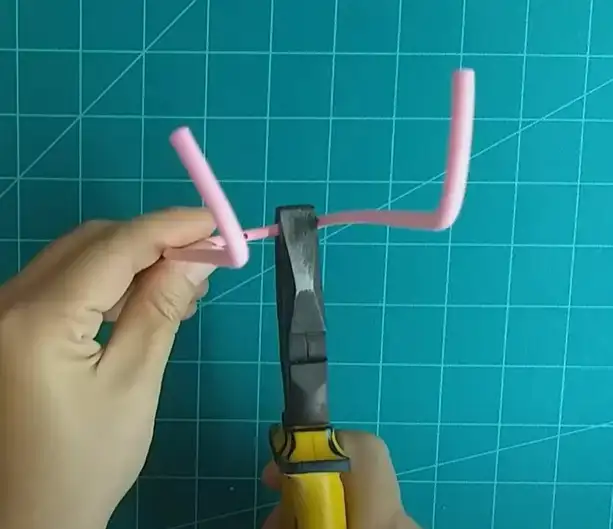
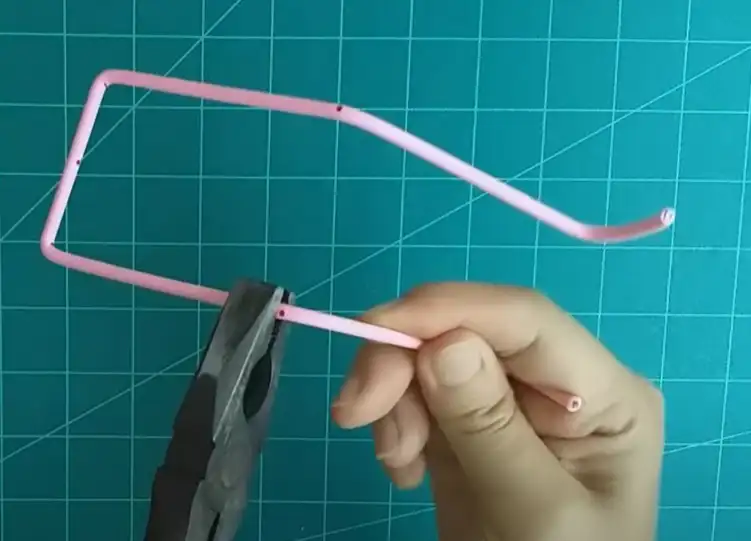
Final step is bend the lower heads. And you’re done.
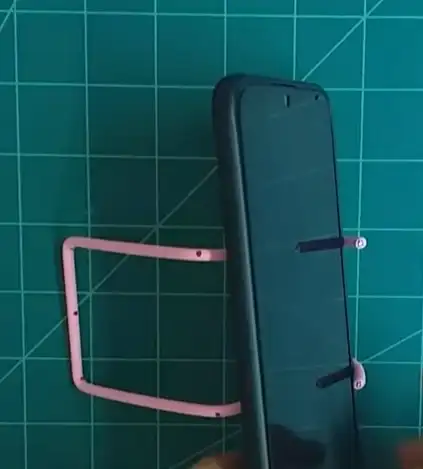
You’re hanger tripod is ready.
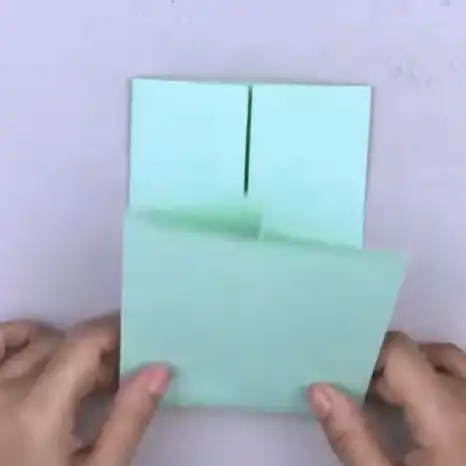
Origami Tripod
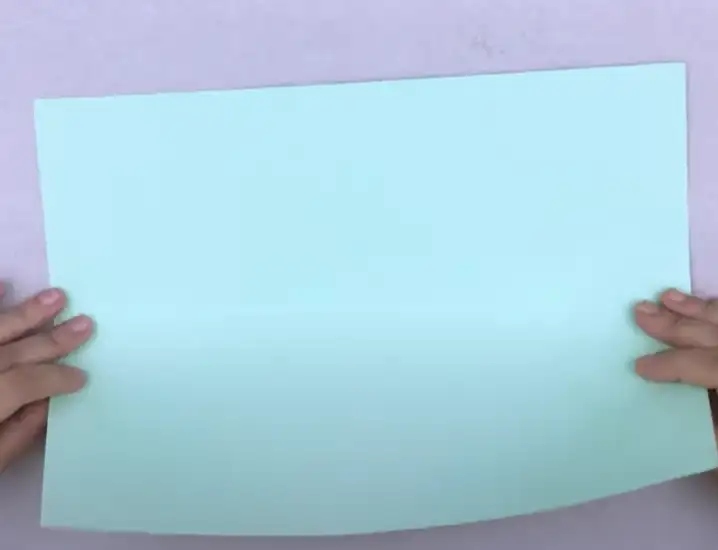
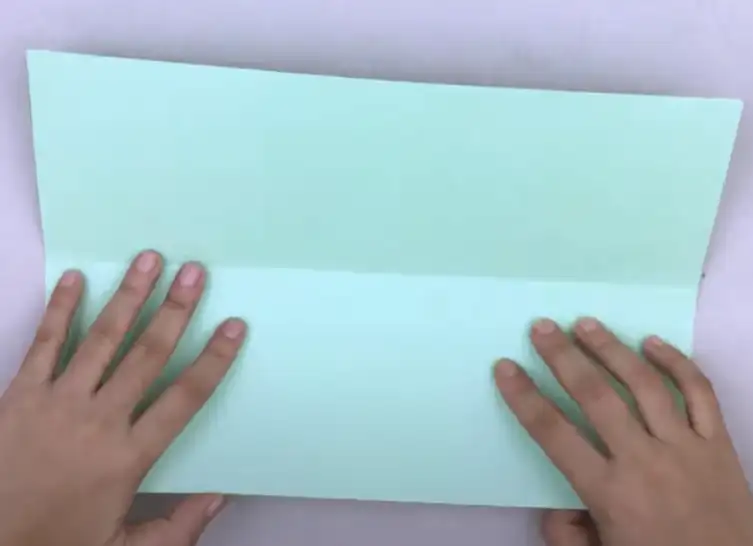
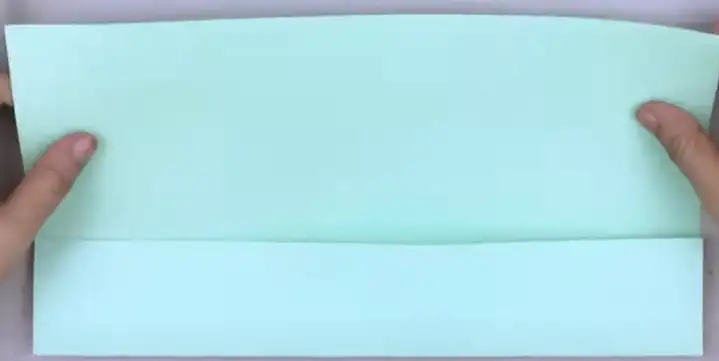
Take A4 size paper. Fold it in half. Then open it it flat.
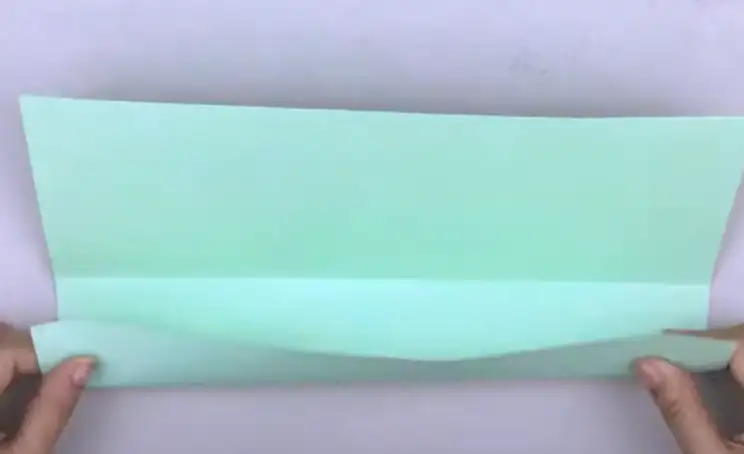
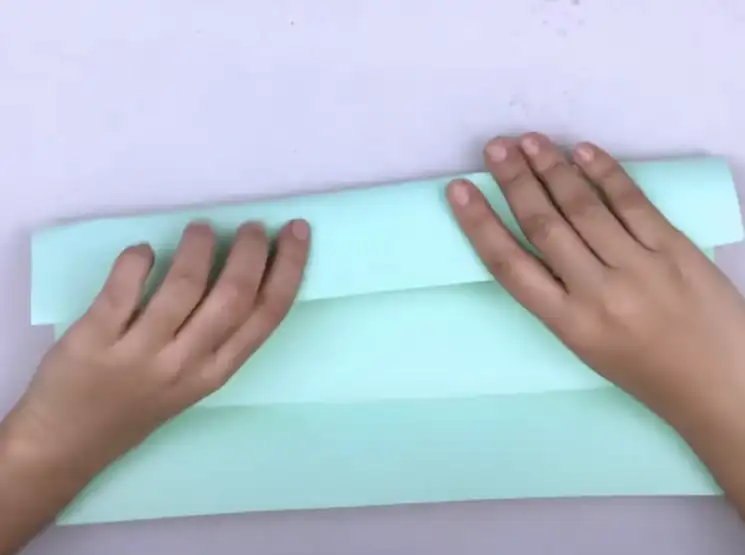
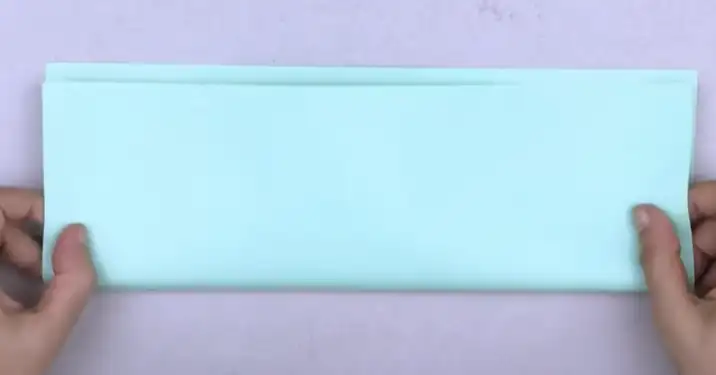
From the bottom, take the half of it, and fold it. Both from upper and bottom.
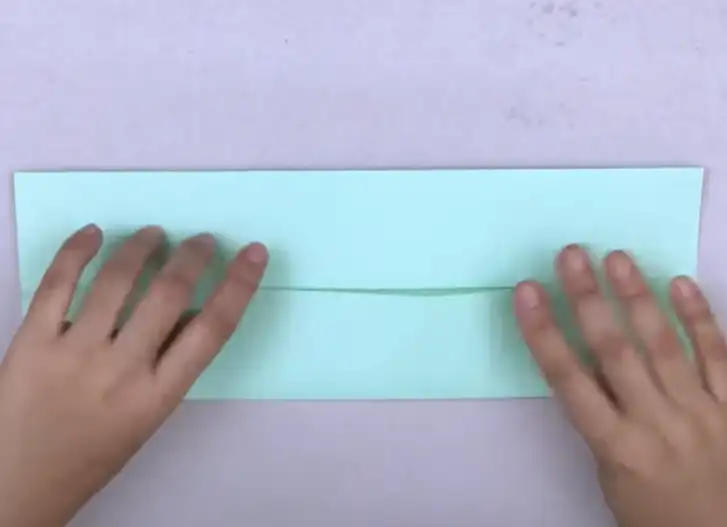
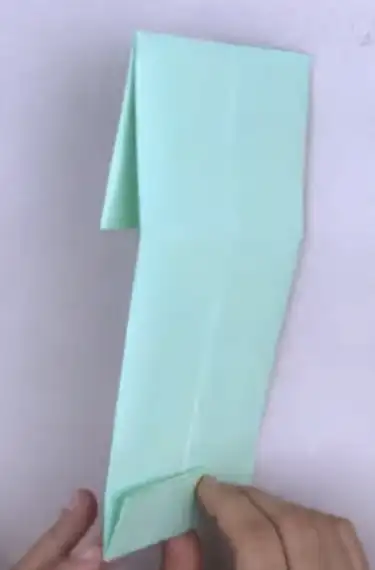
Once you’ve done this, turn your page vertical, and fold the half of it.
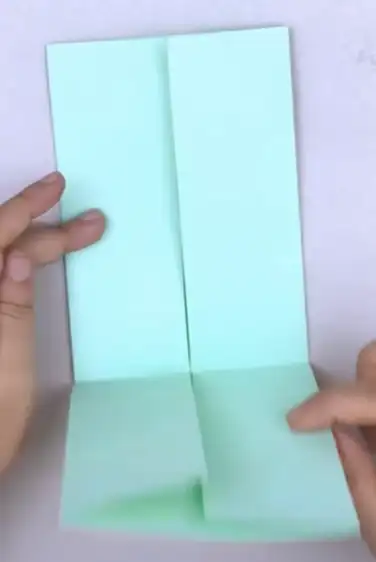

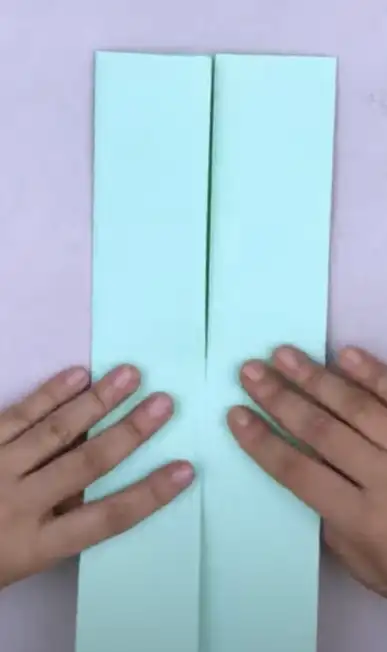
Again, fold the bottom part in half, then lower bottom part. Now turn it.
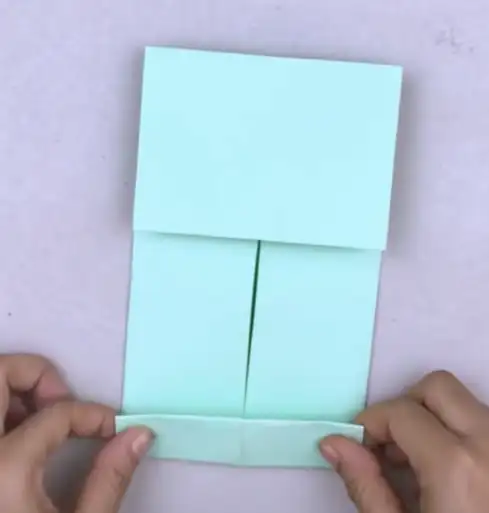
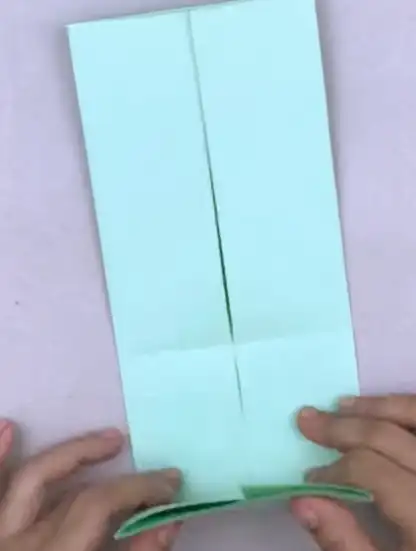
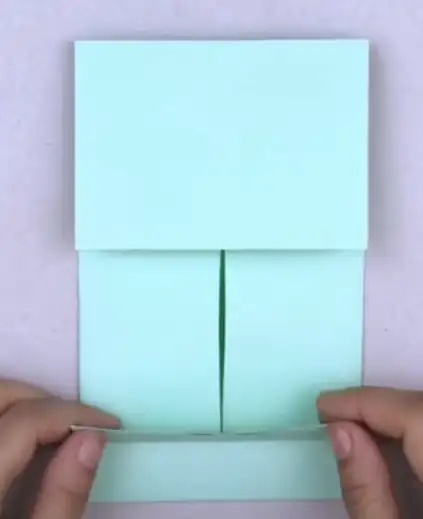
Fold the lower part form backward. Turn it again. Fold the lower part to the opposite.
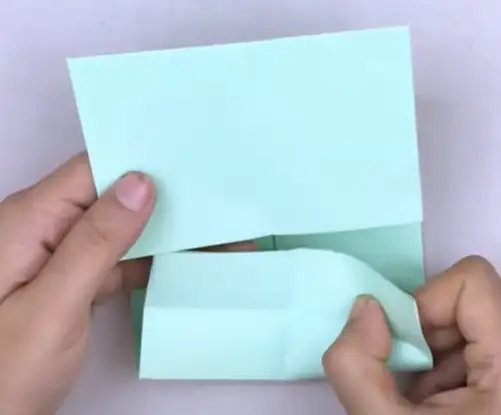
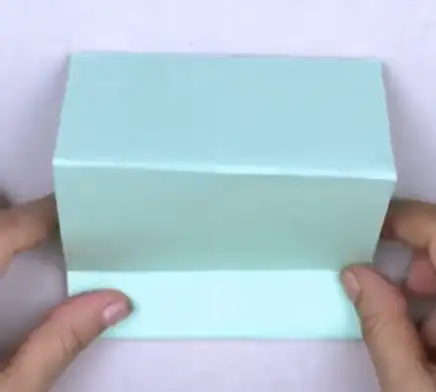
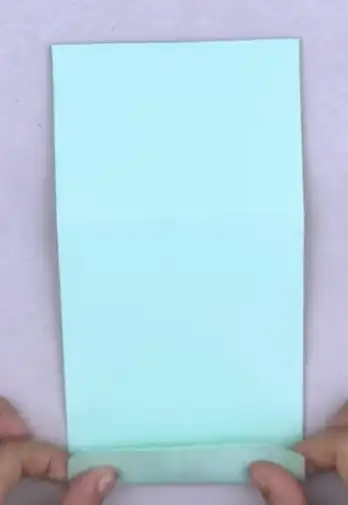
Connect both upper and lower portion. Insert the bottom part in the upper part. Done!
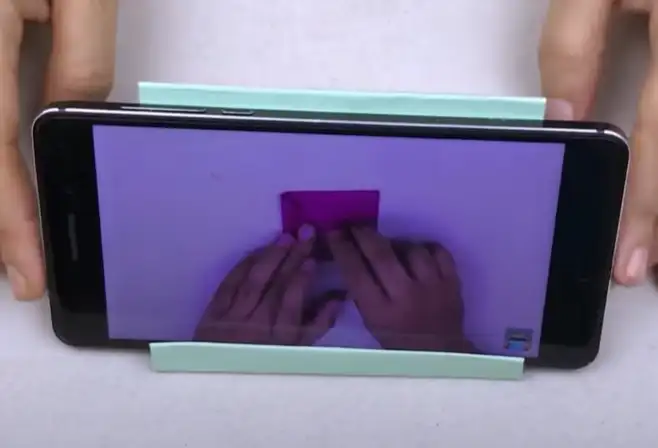
Enjoy your origami tripod.
Cardboard Tripod (Model 1)
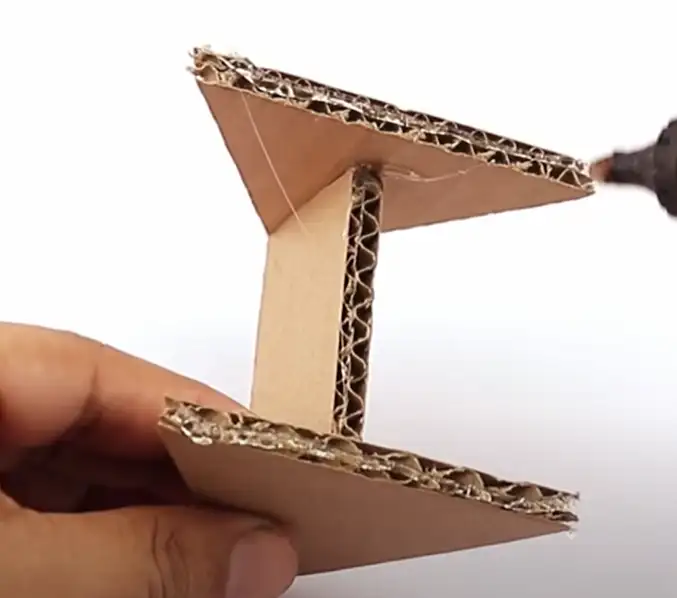
Cardboard tripod is another stable yet cool tripod you’ll ever have. With equal measurements, just cut those pieces for you before you lay your hands on making this. And then follow the steps shown in the image. Glue them as following.

Once you have this model, take a small piece of cardboard, and glue the bottom.
Stick the small piece of cardboard one inch above from the bottom. Wait till it dries properly. Then use it.
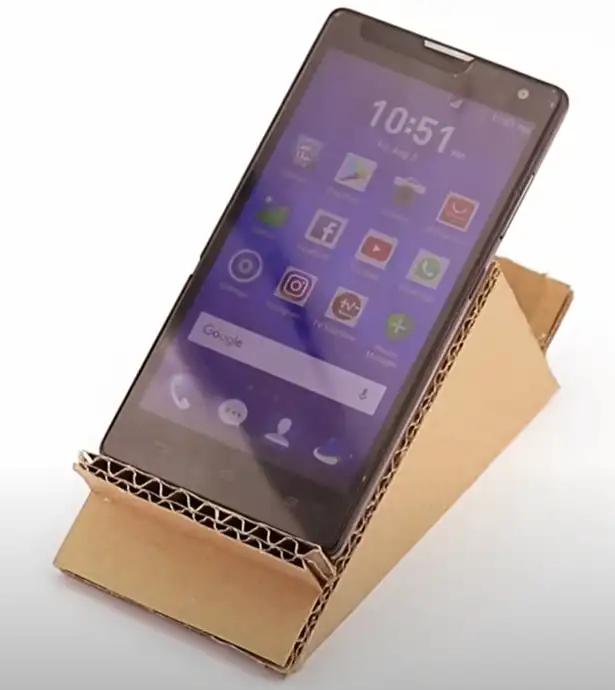
Cardboard Tripod (Model 2)
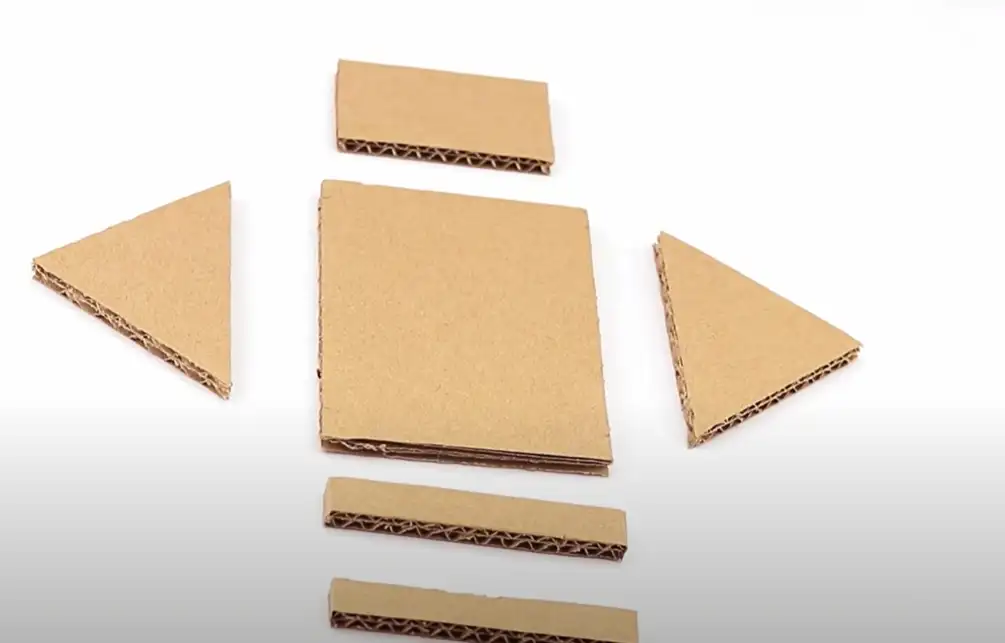
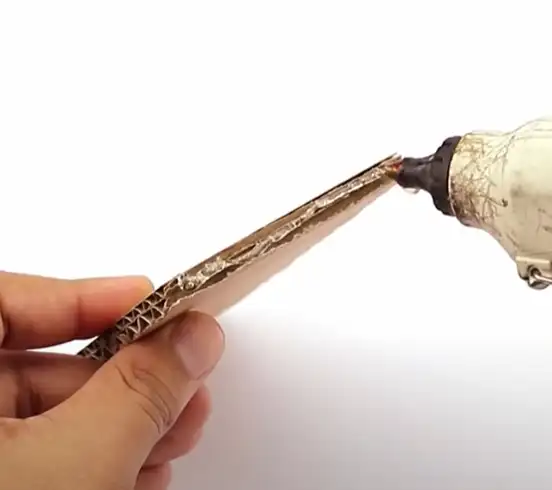
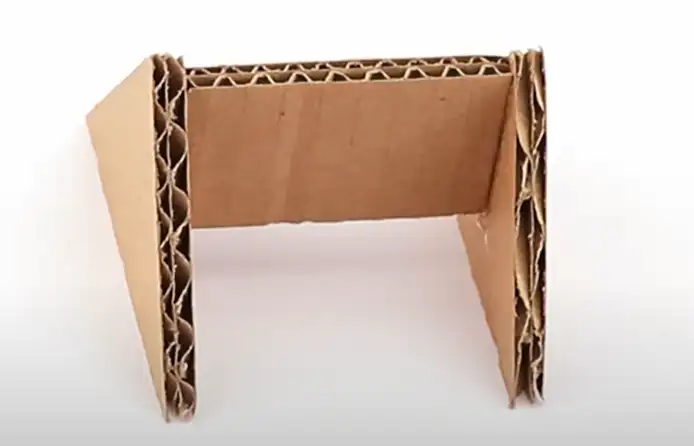
Cut out those pieces with a particular measurement. Apply glue on the bottom of the flat piece.
Take a small cardboard piece and stick it to the both ends of the flat piece.
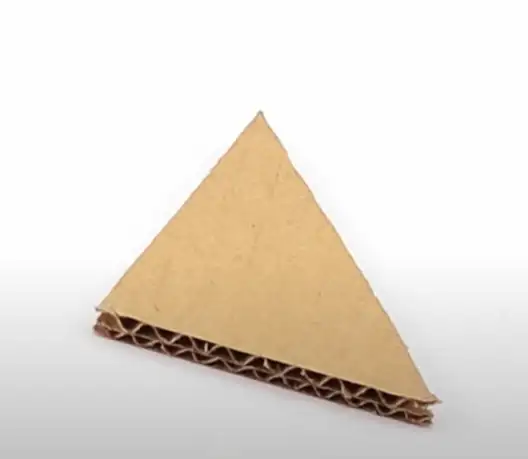
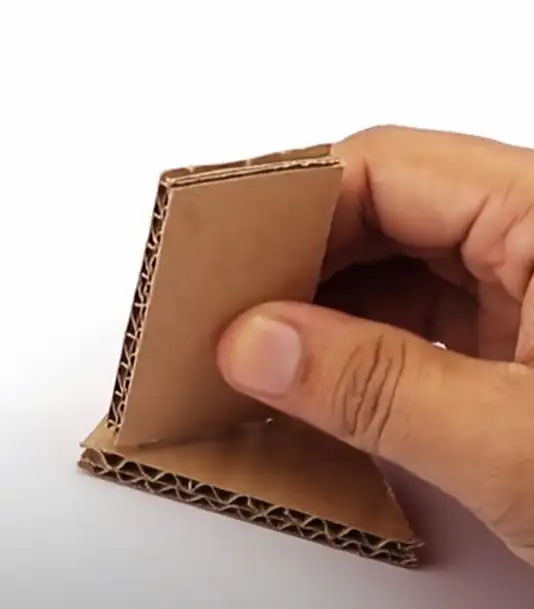
Take the small square piece and triangle. Stick the square upon the triangle.
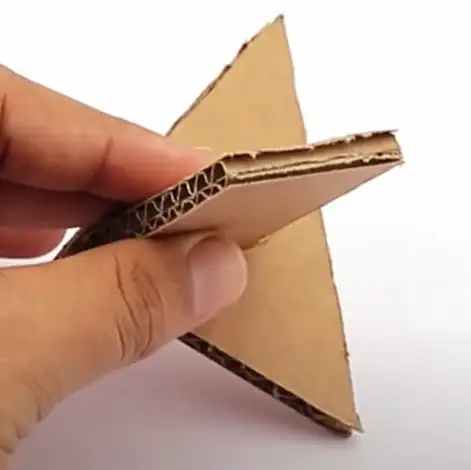
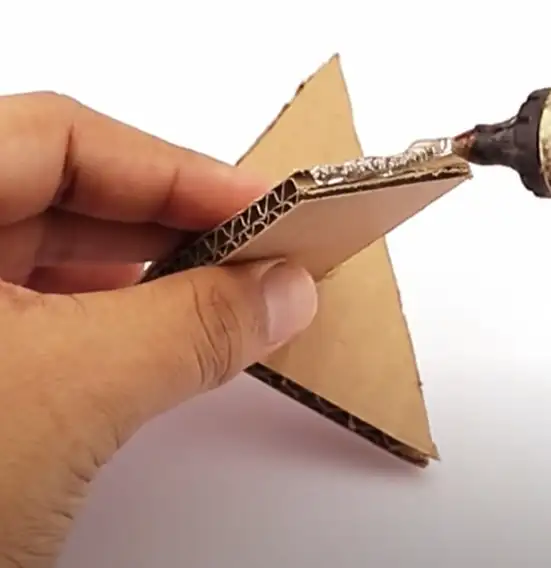
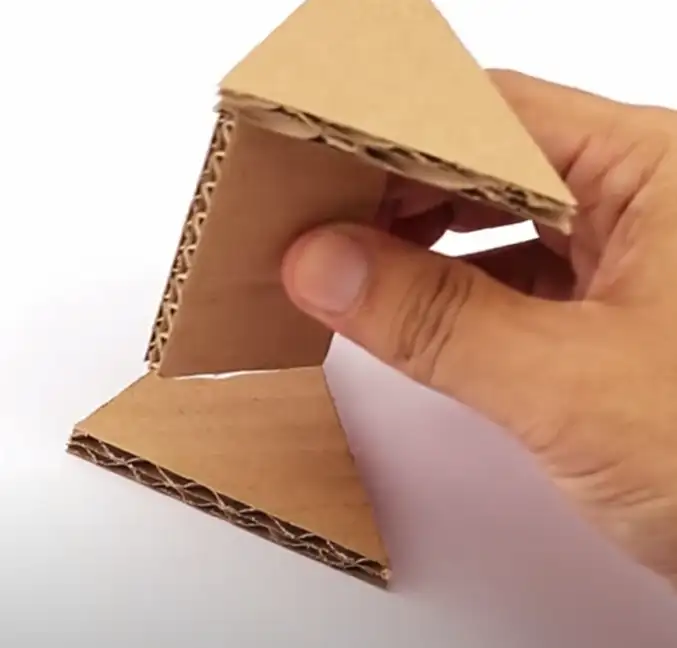
Apply glue on the bottom of the glued square and stick it upon another triangle.
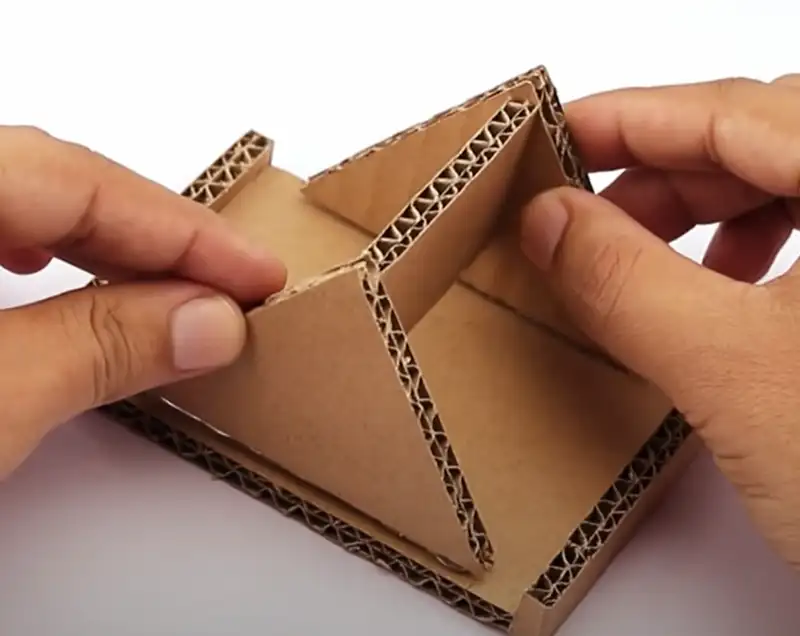
At this point you’ll have something like this. Then apply glue underneath the triangles. At this point you’re almost done. Now pick the flat surface.
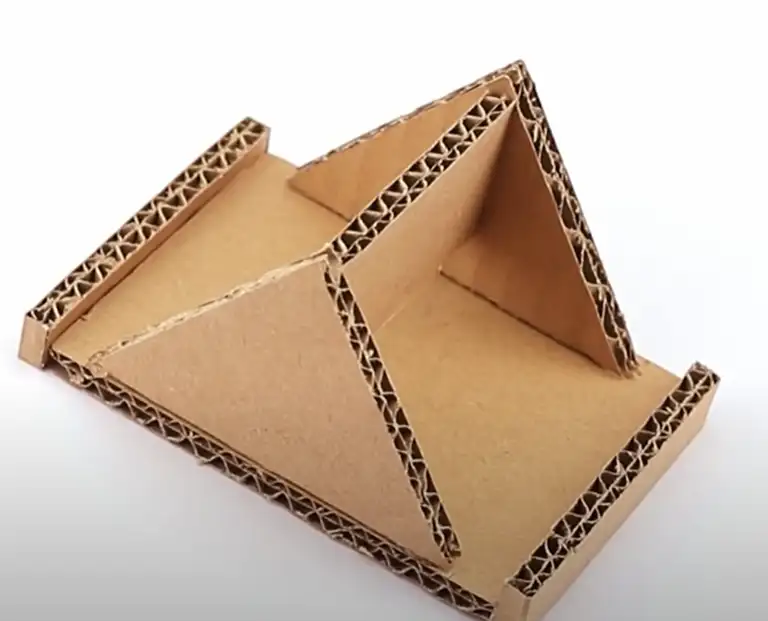
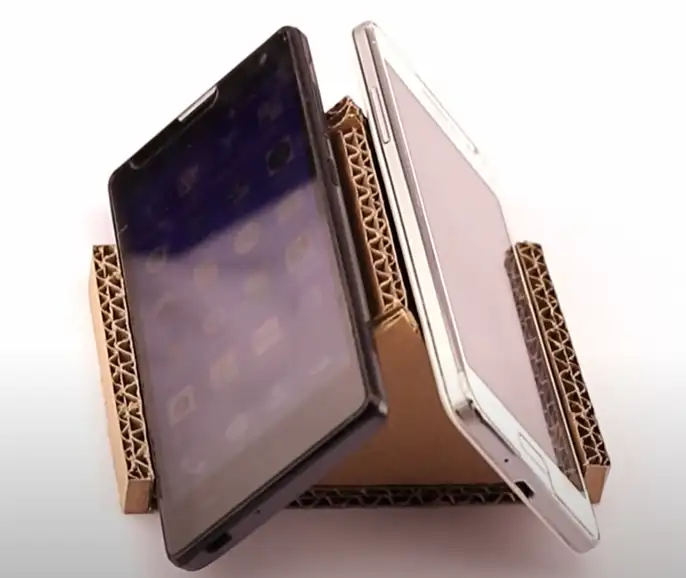
Stick the triangle figure on the flat surface. You’re done. The plus is it’ll serve multi phones. Cheers!
Try any idea above you’ve mentioned. Now you can take stunning photos with your phone without any image quality sacrifice. It is a cheap solution to make some videos for presentations and also for students.
To be blunt, it’s not a good-looking phone tripod, but it will really work for you and save you time. This creative, fast solution would save your bucks too.
Image Source: YouTube
You can check out more DIY on our site.
For any further discussion, ideas, and Q & A, you’re free to comment below.